DIY DTF Transfers have transformed how crafters and small businesses unleash bold designs on clothing and accessories with less mess than traditional screen printing. This approachable intro highlights why direct-to-film techniques are popular for hobbyists and budding shops alike, focusing on a simple, repeatable workflow. You’ll see practical DTF transfer steps that emphasize consistency, from printer setup to curing and pressing. A reliable heat press for DTF transfers is essential, delivering even heat and steady pressure for crisp results. By the end, you’ll grasp why beginners gravitate toward this versatile method and feel confident starting your own projects at home.
Seen through a broader lens, this technique can be described as a film-based transfer system that shares roots with other fabric-application processes. In plain terms, you print on a PET sheet, apply adhesive, cure, and press to bond the image, but the underlying idea remains about moving ink from film to fabric with precision. For those just starting out, you’ll appreciate how the setup is reframed as a series of repeatable steps rather than a mystery. A practical path for learning includes selecting reliable supplies, calibrating color and heat, and testing on swatches to build confidence. If you’re looking for a non-jargon, actionable road map, a direct-to-film transfer guide can be a helpful companion as you iterate on textures, finishes, and fabric types.
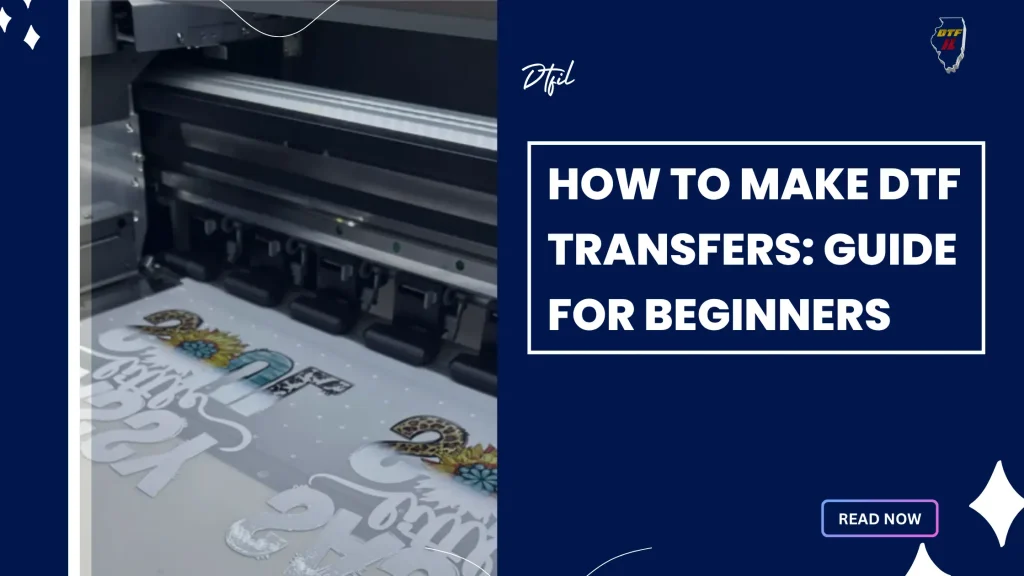
Getting Started with DIY DTF Transfers: A Beginner’s Path to Professional-Looking Results
DIY DTF Transfers open a practical route for crafters and small businesses to achieve print-quality results without the complexity of traditional screen printing. By leveraging a simple workflow that begins with a capable printer, DTF printable PET film, and a reliable heat press, beginners can create durable designs on a variety of substrates. The accessibility of a step-by-step approach helps you move from concept to finished product with confidence, while still leaving room to learn and improve.
This introduction to the DIY DTF process emphasizes repeatable steps and practical tips that cut down trial-and-error. From mirroring designs to choosing the right transfer materials, you’ll gain a foundation in DTF transfer steps that translates into more consistent outcomes with each project. As you gain experience, you can expand into more complex designs and a broader range of fabrics using the same core workflow.
DTF Printing for Beginners: Choosing Tools and Materials
For those new to DTF, selecting the right tools is a critical first step. A capable printer with white ink capability, DTF printable PET film, and a quality adhesive powder set the backbone of your setup. With these essentials, you can begin experimenting with the basic DTF printing for beginners workflow and understand how ink, film, and powder interact to create a durable transfer.
Beyond the basics, consider how the heat press, silicone sheets, and protective prep materials influence results. The right substrate choices—such as cotton blends or poly fabrics—combined with a properly aligned pre-press phase help ensure consistent adhesion and color fidelity. By building a compact, beginner-friendly toolkit, you’ll be well-positioned to execute reliable DTF transfer steps in a repeatable way.
Direct-to-Film Transfer Guide: From Design to Durable On-Fabric Prints
This direct-to-film transfer guide walks you from initial artwork to a sturdy on-fabric result. It emphasizes design considerations like mirroring, color layering, and ensuring sufficient resolution for crisp prints. When you’re learning DTF, paying attention to the interplay between the white underbase (if used) and top colors helps you approximate the look you want on light and dark fabrics alike.
From there, the guide covers the pressing phase, including recommended temperatures, dwell times, and even pressure distribution to minimize edge halos and ghosting. A key aspect of creating durable prints is proper curing and post-press handling, which protects the adhesive bond and preserves color vibrancy through wash cycles.
How to Make DTF Transfers at Home: A Simple, Reproducible Workflow
If you’re wondering how to make DTF transfers at home, this section offers a practical, reproducible workflow designed for beginners. Start with a clean design file, mirror where needed, and print onto DTF PET film following your printer’s white ink guidelines. By focusing on consistent steps—design, print, powder, cure, align, press—you’ll minimize variables that often impact outcome quality.
Working at home also means developing a reliable testing routine. Use swatches to dial in temperature, pressure, and dwell times before committing to larger runs, and keep a log of your settings for future projects. Troubleshooting guidance, like addressing halos or ghosting, helps you adapt quickly and build confidence as you scale up your DIY DTF projects.
Mastering the Heat Press for DTF Transfers: Temperature, Time, and Tactile Finish
The heat press plays a central role in the quality and durability of DTF transfers. Understanding the right temperature and dwell time—commonly around 160°C (320°F) for a short press, with fabric-dependent adjustments—will help you achieve strong adhesion without scorching. This section also covers pressure and platen considerations, such as using a flatbed press for uniform contact and a silicone sheet to protect the print during transfer.
In addition to the core press settings, finishing touches like post-press cooling, hot or cold peels, and optional protective coatings can influence the final hand-feel and wash durability. Regular maintenance of your heat press and careful handling during the peel stage ensure the design remains vibrant and intact through repeated use and laundering.
Frequently Asked Questions
What are DIY DTF Transfers and how do they fit into DTF printing for beginners?
DIY DTF Transfers are created at home using a direct-to-film workflow: print onto a PET film with a printer capable of white ink or white underbase, apply adhesive powder, cure, and then transfer to fabric with a heat press. For beginners, this approach aligns with DTF printing for beginners because it eliminates screen printing, supports light and dark fabrics, and offers a repeatable workflow from design to finish. This direct-to-film transfer guide emphasizes practical steps you can follow to get professional results.
How does a direct-to-film transfer guide help when starting with DIY DTF Transfers?
A direct-to-film transfer guide provides a clear, repeatable workflow—from design and printing to curing and pressing—tailored for DIY DTF Transfers. It helps beginners avoid common mistakes by outlining recommended temperatures, powders, and peels, while emphasizing safe handling and essential tools.
What are the essential steps for how to make DTF transfers at home using DIY DTF Transfers?
Key steps include designing and mirroring the image, printing onto DTF PET film, applying and curing adhesive powder, preparing the substrate, pressing with a heat press at the recommended temperature, and finally peeling and finishing. This at-home workflow follows the DTF transfer steps used by crafters and hobbyists.
What should I look for in a heat press for DTF transfers when working with DIY DTF Transfers?
Choose a heat press with even heating, stable pressure, a suitable platen size, and accurate temperature control. For DIY DTF Transfers, a flat heat press is usually best, and you’ll typically press around 160°C (320°F) for 12–15 seconds, with a pre-press and protective silicone sheet or parchment paper.
What are the DTF transfer steps for beginners using DIY DTF Transfers?
A practical sequence is: design and mirror the image, print on DTF PET film, apply and cure adhesive powder, pre-press the substrate, align and press, peel while warm or cold as advised, then allow to cool and follow post-care. Practice swatches and adjust settings based on fabric and adhesive quality.
| Topic | Key Points |
|---|---|
| Introduction |
|
| What is DTF Printing and Why It Works for Beginners |
|
| What You Need (Tools and Supplies) |
|
| Step-by-Step Tutorial for Beginners |
|
| Troubleshooting Common Issues (for Beginners) |
|
| Advanced Tips for Better Results |
|
| Frequently Asked Questions for DIY DTF Transfers |
|
| Conclusion |
|
Summary
A comprehensive HTML table summarizing the key points about DIY DTF Transfers, followed by a concise conclusion tailored for DIY enthusiasts seeking to start or improve their DTF transfer workflow.